Showing posts with label Spellbinders. Show all posts

Tuesday, January 12, 2016

Getting Punny.... Part 1

I had a whole other blog post planned but have decided to save it for another day.  :)

Instead I wanted to share the punny valentine's I've made recently.  They'll all be up in my Etsy shop but I wanted to be able to giggle over them with friends.  Since there are so many I'm going to break them up into different "parts".  Hope you get a giggle out of them too.

This group features the sentiment "You're so deer to me."  I had to pair it with the adorable Woodland Deer from Spellbinders.  I die cut, embossed and stenciled it and in the top card I added Sugar Sparkly Fluff to the white on the deer's tail and belly.  It's also been featured with several other die cuts - seems like these woodland animals MUST have that little bit of grass with them.  And I just had to use that Woodgrain die cut - so stinkin' cool!  The whole herd was lifted off the page with foam dots to give them extra emphasis.


These next two were inspired by an adorable card I found on Pinterest.  Here's the link to her original post.  I didn't want to copy it exactly so I let the inspiration percolate just a bit.  And of course song lyrics and movie quotes came to me!  With that I knew exactly what I wanted to do.  Die cut heart shapes and then die cut the die cut hearts (say that 3 times fast!) with a puzzle piece die.  Wah-lla!  Any one able to name the movie and song or artist these two reference?
This last one isn't very punny but I really dig it.  The original card has been pinned for a long time and there's so much about it I like.  The white on white of the front, the circles with hearts cut out and then popped up, the simplicity but totally cool style of it.  For this version, I have NO doubt there will be others!, I opted to focus on the white on white and the circle theme.  It's difficult to tell in this scan (I'm working on getting my photo booth set up and it can't happen soon enough!) but the white interlocking circles are actually popped up off of the card front.  A stamp and a die cut heart finish it off.
Hope you like these.  And if you've got any favorite puns share them!  I'm always looking for inspiration!


Sunday, December 20, 2015

Sharing some creations

When I was at my last job I created the office birthday cards.  Very often I would search Pinterest for ideas and LOVED pinning images or projects that sparked me and then put my twist on them as I used products from the company to accomplish it.

Here are a few of the Pinterest pins and my take on them with commentary.  I apologize for the photos.  Oddly, I usually forgot to take any pictures of the cards and only remembered when they came across my desk to sign.

This really was one of my very favorites.  The pops of color and simplicity work perfectly together. My version used Spellbinders Birds on a Wire & Sentiments 3 dies

                                       
     Here's the  original post 
                                                                             
This next one was really fun and so stinkin' easy!  I used Sentiments 3 again and pulled out an older set, the Classic Ric Rac Edgeablity dies.  Part of why it was so easy is that I had 2 of the Ric Rac die and used painters tape to hold them together and down to my paper.  That made die cutting plenty of chevrons fast and simple.

Here's the original pin.

I really loved trying to figure out how to create this last card.  My version features Papertrey Ink Friendship Jar Fillers set and the Summer Fillers set.  The really neat details on this card aren't immediately noticeable - the 3 little colored dots are actually perler beads that I melted - here's how - and the large scalloped frame required creative die cutting.  I'll show that at the end. So easy and a great way to get more out of your dies.

This is the original post 

Since I didn't have a scallop die large enough to create the opening size I wanted I had to create my own.  Here's how!

- Cut mat to your finished size to make it easier to line everything up.  This will also help avoid trying to cut narrow margins around your finished "negative" frame.
- Cut your first scallop rectangle with the bottom lined up where you want it.  This photo shows the original big scallop rectangles cut from my cardstock
- Reset the scallop die so that you're actually only cutting a portion of the shape
- Whalla!  You can now make negative frames any size you need! This will work well with squares and rectangles especially.  If they've got a design feature, like the big scallops here, it's super easy to line up for the second time through your machine.  Make sure to keep the pieces you've die cut as they'll work perfectly for another project down the road.


What are some of your favorite pins or Pinterest successes?

Wednesday, June 26, 2013

At long last a return to my blog.....

I haven't' checked the date for my last post but I know it's been a long time.  Life has a way of getting really crazy, busy and getting in the way of all the things I want to do sometimes.

Here are a few updates from me:
- Am no longer teaching classes anywhere.  That was a pretty hard decision to make since I've been sharing my love of all things crafty for over 11 years.
- I've started working out in the real world again.  And I have to say, I'm delighted about it for so many reasons.  I was able to, literally, propose a dream job and suggest I be the one to do it.  I can't thank Spellbinders and all of the people there enough for going along with my idea.
- Lots of things have changed this past year in my derby league.  They've revamped the training and put in place some great organization.  I'm still working hard to get on a team and have hopes to do so in the near future.
- Bret will be moving back in with Mel & I.  This is a good thing and I'm kinda excited about it.  I like that kid.  He'll be going to school full time so that's pretty cool too.

Since I'm no longer teaching I figure I'll be able to share other crafty stuff here.  One of the things I've done recently is offer to create all of the birthday cards for the office.  It just seems wrong, on so many levels, to have store bought cards from a crafting company.  I also still haunt Pinterest on pretty much a regular basis. I love trying things I've pinned and figure this is a good place to show my inspiration pin and my results.

So here goes:
Original Link
One thing I really liked abut this design, besides the fact that it's totally classic, is that you could really change out the leaf shapes on the original with nearly any other shape or design and it still works.  Really, that's one of the hallmarks of classic/good design.  Since this card was for a man, I used the Nautical Frame & Accents from Spellbinders.  This set is discontinued and kind of hard to find.  I got mine from 7KidsCollegeFund.

June was a busy month for birthdays in the office but I don't want to post all of the cards at once.  :)  So check back in a few days for more.

Until then, have a totally fabu day, support local roller derby and love is love.

Tuesday, March 5, 2013

No Rectangles Here Samples posted!

If you'll be in Tucson for the Stamp & Scrap Fest March 16 & 17, you should join me for these fun cards.  Here's one of them.  You can see the others om the Class Projects tab, just scroll down to view them.
This class is sponsored by The Stamp Dr and features Spellbinders dies.

I'll be posting photos for the Mixed Media Mini book and the Waterfall album soon.

While in Tucson that weekend, you might also consider checking out some junior roller derby.  The PHX Derby Brats will be playing in the First Junior Devil Tournament!

Tuesday, October 25, 2011

Paper Vineyard "Joy of the Journey" Challenge

I had fun creating this card.  Sometimes it's nice to just let the products speak and see what they say and where we go.  This one was telling me that I don't always have to leave products just as they come.  Here's what I mean.

This journaling card was included in the DT package.  It was very nice just as it was.  And there's lot's that could be done with it.  What I chose to do with it was to die cut it and use it in pieces.


Using a one of the Ribbon Tags Trio 3 dies from Spellbinders I singled out the large "JOY" to be my sentiment focus.  I trimmed out "bring" from the rest of the sentiment to create a new phrase, one that fit my style and creative idea better.

A few other things to note about this particular card: 
- the little brown bag that some of the smaller pieces of the DT kit came in just seemed to cry out to be used.  It was a typical kraft color but had a waxy type surface. I die cut it with more Spellbinders dies. Sooooo perfect for scrunching!  Love the shabby, vintage-y, messy look of them. 
-  there was a little bit of tulle in our package too.  I thought it would look really pretty and soften the paper flowers sticking out of the top of my flower pot.
- I stitched the dark brown Core'dinations to my Reminesce patterned paper.  And I added a little more stitching in the upper right corner for more texture.

I've been working on building my stash of cards that I can just grab and write a note in when I need one on short notice.  Because of the non-specific sentiment this one will be a great addition to my stash.

Speaking of adding to my stash - Paper Vineyard has everything in the store on sale for 25% off!! That's a great deal to help you add to your stash and make it easier for the store to make the move next door.

And speaking of moving - if you're on the West side, another one of my favorite stores, The Creative Quest, and where I often teach, is closing.  Get 30% off everything in the store.  Look for a new incarnation of this store in Dec in the little house right next door.

Tuesday, October 18, 2011

Paper Vineyard Authentique & Favorite Tool Challenge

I've been hearing a lot about Authentique but hadn't been able to see it or play with it.  So I was really delighted when I saw this challenge.  I was even happier when I saw the paper.  So very pretty.  Paper Vineyard has 4 of their collections in the store.  I'll be grabbing up more from the Blissful line as well as lots of papers from the Uncommon line.  They've also got Journey & Glowing.  And if those papers aren't enough to entice you into the store - EVERYTHING is 25% off thru the end of the month!

In addition to using the Authentique papers we were to highlight our favorite tool.  I'm so bad at following directions. *sigh* I couldn't choose just one tool.  I'm a total tool geek & believe that tools should make your crafting time faster & easier.  I NEVER seem to create anything without my Fiskars 6" trimmer, Zip Dry adhesive & Tweezer Bee tweezers.  And more often than not you'll also find Spellbinders Dies on my projects.  All of these tools do just that for me.


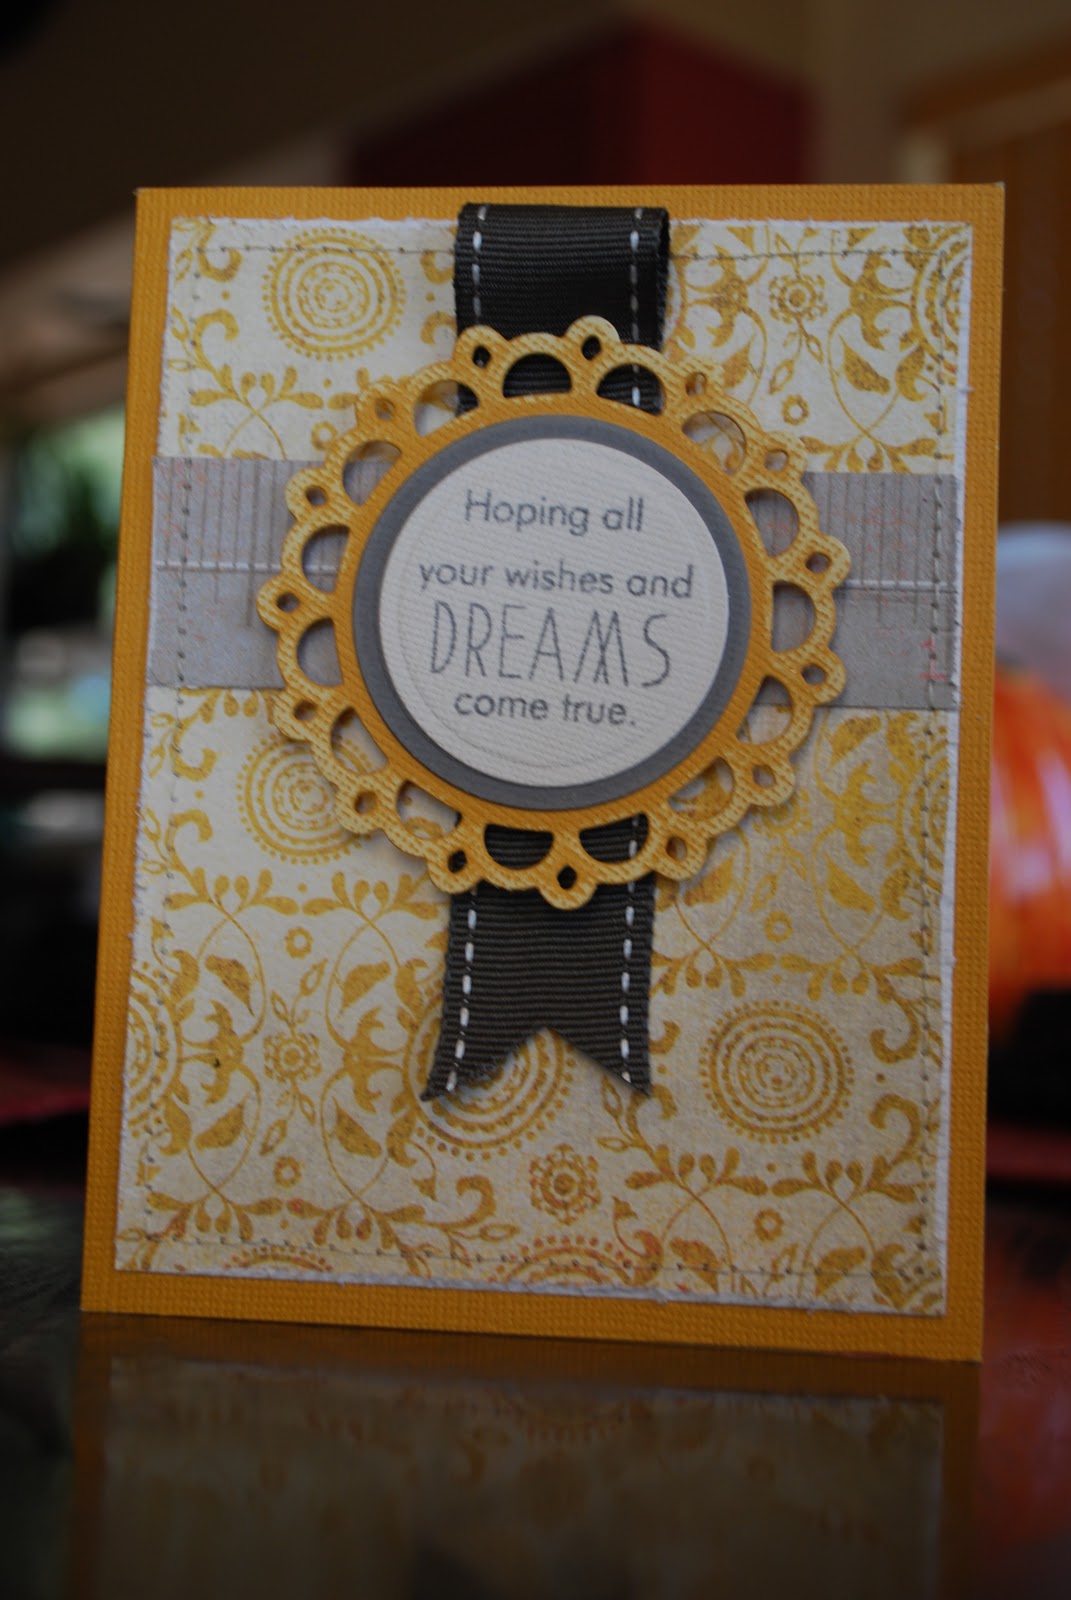
Here's the card I created for the challenge.  I had a Core'dinations card base (love those too!) that perfectly matched the Blissful line.  I distressed the edge of my patterned paper and stitched a strip of matching patterned paper near the top.  Some dark grey grosgrain (love how the stitching around the card is mimicked with the saddle stitch on it) under a die cut, embossed and sanded Picot Edge Circle.   I added a few more Spellbinder die cut & embossed circles on top of it with a stamped message.  I kept this one non-theme specific so I can use it for any number of occasions.  

Saturday, July 23, 2011

PTI Stamp a faire Challenge 2

Challenge #2 was to create with bright pink & grey.  This is my version.  PTI Bitty Box Basics, Larger than Life stamps & die.  Something else to note - I liked the Half & Half dies from the July release but choose to forgo them for a variety of reasons.  But I did get to wondering if I could use my Spellbinders dies to create a similar effect.  Happily, I can.  This will show up in a future class I'm sure.

Second time taking photos in the light box.  This time it was plenty dark in  kitchen/dining room and I definitely got a different result than the first time.  I took 4 photos all together.  This was the first where the flash popped.  I don't really like the washed out look but the other 3 I liked even less.  One more thing to spend some time playing with.  :)

Thursday, July 21, 2011

August DIEnomite!!

Ok.  I admit it.  I REALLY, REALLY like the technique that I'm featuring in August.  It was hard to choose only 3 variations of it to use to create the projects with. 

Embossing has always been one of my favorite techniques.  But so often I don't have or can't find just exactly the design I want for a project.  Not any more!!  We'll be learning how to create our own embossing "plates" using a wide variety of tools - most of which you've already got!!

Join me in class and we'll talk about tons of options using this technique.  You can see the other 2 projects on the Class Projects tab.  And my complete class schedule can always be found on the left side of the blog.

Hope to see you in class!

Friday, July 1, 2011

Off to Frenzy Stamper......

I've got just a few minutes before I head out to go over to The Frenzy Stamper for classes today and thought I'd take them to post the projects for next months classes over there.

Debbie challenged me to use a stamp I'd seen but hadn't really given much thought to.  And I was happily surprised to find that I had an idea and was able to make it come to life pretty much as soon as I got home last month.  Totally unusual for me!  But with thoughts of my good friend, Sara Mayes, and scenes from the movie Whip It! in my head it's really no wonder it was easier than I expected.

This one just makes me smile.  Though the image may be small there are still some techniques utilized on it.  We'll talk a little bit about coloring skin, we'll be doing some shading, adding color to make white pop, popping an image with an outline color and tip to tip coloring/blending.  Not bad for a sassy little skater girl!

Check out the other two images on the Class Projects tab.

I've also posted the next projects for the DIEnomite!! class at Frenzy over there.  And on a happy note - I'll now be able to bring dies with me to class for you to purchase.  Preorders are best as I'll only bring a very limited selection of dies.  You can contact me or the store for preorders.

Saturday, May 28, 2011

June DIEnomite!! projects

On the way to the airport Thursday I managed to drop off the next set of projects for the DIEnomite!! class series.  More fun techniques to get the most from your dies and machine.  You can find the other projects on the Class Projects tab.
I love the extra dimension that I got on these leaves.  This is one technique I'll be using a lot going forward!

Sunday, May 22, 2011

Owls & Zebra....... It's a zoo around here :)

A fun little post to share some of the crafty stuff I've been up to.  Today my niece, Tricia, were crafting at the same table.  Making things for her new room.  She created a totally awesome canvas to hang up.  Painted it differently than I expected and I love it!  It's way cooler than the one we saw at Ikea (can't believe I said that!) and definitely a lot cheaper!
I saw some totally adorable little owls, another favorite theme of her's, on Pinterest (I can not even explain how addicting that place is!  If you haven't been sucked in, you're lucky!).  Click the links to see the inspiration from EffemeraInk.  My versions are below.
Side-ish view so you can see all the fabrics and details a little better

more head on view of Fred, George & Sam as I named them
One thing I did was to use some beans to keep them upright and stable.  Just poured a few into a sandwich bag, rolled it up, taped it together and stuffed it into the bottom after I'd stuffed the bird, so to speak.  If you look closely you can see that I used some Spellbinders dies to embellish them.  Just love those little suckers.  They make so many projects so much faster and easier!

Speaking of dies - I'm nearly done creating the projects for the next DIEnomite class at The Creative Quest.  Look for that post to go up soon.  And tomorrow will have a post on the Copic Inspirations classes for Payson.

Tuesday, May 17, 2011

Projects Posted

This is one of the projects for the next DIEnomite class at The Creative Quest.  June's DIEnomite projects feature butterflies, big and little and all in a row.  You can find the other 2 projects and all the details on the Class Projects tab.

Masculine cards are always some of the hardest to create it seems.  This card for the June Copic Club at The Creative Quest make a Father's Day card a snap!  The second card is posted on the Class Projects tab.

I've started cleaning out the garage and extra bedroom.  If you've seen them you know what a task this is going to be.  But it also means I'll be coming across a number of items to sell.  More items have been added to the For Sale tab.

Sunday, April 3, 2011

The Aftermath of the Whirlwind!

Every have one of those days where an idea just GRABS you and you HAVE to accomplish it or else?  Yesterday was one of those kinda days for me.  Of course, it started around 6 pm so it was kind of late but I was POSSESSED! I'd been working on my samples for the DIEnomite! class (pics and info posted in the Class Projects tab) and was thinking of how I wanted to present the class.  I wanted it to be easy, fun & versatile.

A quick trip to Goodwill - my new favorite shopping spot I think - off to the craft store for a few things & I was spray painting by 8 pm!!  Even managed to get two coats done on the frames.

Because this class will be set up station style - each card at a different table - I knew that I'd need to be jumping back and forth helping people at all different stages.  I wanted it to be easy for those folks that work faster to do so as well.  What do you think of my solution??!

The board to display the class projects
all of the dies and matching die cuts for one project

the second project dies and die cuts

the third project dies and die cuts - need to add one more die cut
 This way anyone working on each project can see exactly what needs to be cut with which die, I've added specific info regarding what needs to be embossed or have a special treatment done to it.  I've also got plans for how to organize all the bits and pieces for each table to make it simple, easy and compact.  I can't wait to try it!


Here's one of the projects for the class.  Go check out the other two on the Class Projects tab.

Sunday, March 27, 2011

Just Breathe is more than a song title............

Time flies when you're, um, uh having fun???  Is that what the last few weeks have been?  Someone pinch me.  Please.  Maybe I'll wake up. That sounds terribly doom & gloom & unhappy and I don't really mean for it to.  It just feels like I can't catch my breath or catch up with all that's been going on.  Well, unexpectedly and more importantly, unplanned!  I took the day yesterday to just completely veg out.  Or more accurately - read out.

I started reading Insomnia by Stephen King - my favorite author EVER - Thursday night.  And finished it up around 8 o'clock Saturday night.  :)  Bawling like a baby.  Yes, bawling from an SK book.  Try it.  You just might like it.

Here's a run down of what's kept me away from the blog and all my invisible friends - you know who you are!

2 very special by request projects with short time frames for completion.

The first was 60 baby shower invites in about a week and a half.  As soon as I was asked and started talking about design I knew just what was needed.  The adorable Wise Owl & Falling Leaves stamp sets from Papertrey Ink.  The only problem was, I didn't own these sets yet.  I placed my order, made sure to put a note on it that I needed the items as quickly as possible because of the short time I had to create these baby shower invitations and hoped for the best.  PTI came thru in stunning fashion by getting them out to me with in only a few days & that included the shipping!!  Spent a few days playing around with ideas and coloring.  Ended up with all kinds of variations on this theme.

All the cards used the same design but none of them were alike.  One of my favorite things about them I think.  Since time was short I had to use items around me that were easily available - or so I thought - and make it work.  I ended up making trips to 3 different Joann's Etc. stores to find 3 boxes of the DCWV colored A2 card bases I needed.  While I was there I looked around at some of the DCWV paper packs and decided I like the Citrus patterned papers & a stack of colored cardstock.  I colored 6 different Wise Owls with my Copics and scanned them into the computer; stamped 6 of the Falling Leaves and scanned them too.  A little computer foolery and I was able to print out 60 owls and the "branches" to put them on.  Some fancy knife work with my trusty Fiskars Craft Knife (really, the only one I ever use it's so comfortable), a little Spellbinders magic and all 60 branches & owls were ready for assembly.  Final touches for the design included little doilies airbrushed with 6 different Copic markers, stitching to hold the sentiment strip down - again, 5 different colors used on the various card fronts and some "glue time" with Mel & Tricia for final assembly.
If you're curious about the color scheme I keep referencing and the inspiration for the whole thing this is it.  Aubrei is decorating the baby's room with this theme and ordered this wall decal (sorry, I'd give credit but I have no idea where it's from) with a plum colored trunk and teal leaves in place of the light pink ones pictured here.  Kinda cute, huh?  I think the shower invites did a good job of mimicking this theme.  And I'm brewing ideas for her gift that continues the same thing.....


The other custom project was a bit more unusual.  :)  A friend of ours had been asked to create a bar area in a local bike shop/club that he belongs to.  And he asked me if I'd be willing to do some of my "artsy-fartsy, paste eating stuff" to it to add the logo.  No restrictions other than the name and logo needed to be included.  I KNEW my Copics were the only way to go with this and let it start percolating in the back of my head.

The whole thing probably only took me 2 - 3 hours max.  Cutting out the paper stencils took longer than anything else.  Here are a few pics during the creation  :)
Anti-Hero Cycles w/ logo - Gothic 32 font used
close up with some of the color added
flame stencils
coloring the flames - I really liked these flames since there were both positive & negative parts to them - much more interesting looking once they were colored


Here's the finished project, just waiting for a clear coat and 2 layers of poly.  I managed to totally surprise our friend with it.  He had no idea it was done.  I'd left a frazzeled message and a couple of emails saying I needed help.  Had him come over to help me, got him sidetracked trying to figure out my new ecraft - ostensibly what I wanted to use to cut out the stencils.  When it wasn't working I suggested picking out colors and then we'd just hand cut the stencils.  After removing all of the papers and markers and other window dressing from the top of the table all he could say was "You already colored it!"  The look of shock, followed quickly by delight was well worth it!!  And the text he got back from the bike shop owner was priceless!!
Colors used: YR24, YR 14, YR18, YR15, 0, N5, N7, N8, T5, R24, R46, R59, Y19, Y38, E19, E49
I'll fill in the rest of what's been so nutty around these parts in another post.  In the meantime, if you know anything about working the ecraft LET ME KNOW!!!

Wednesday, March 2, 2011

Two New Classes Posted

So delighted with the projects for 2 more classes.  Take a look at the projects in the Class Projects tab.

I'm especially happy about the DIE-no-mite!! class that I'll be doing each month at The Creative Quest.  I'll be focusing on all the things that you can do with die cuts.  In this first class we'll be die cutting 4 materials besides paper.  Techniques will include creating windows in your cards, creating a shaped card & making your own stamps!  Here's one of the projects.

And here's one of the cards for the Copic Club this month.

Check out the other projects on the Class Projects tab.

Thursday, February 17, 2011

I'm Back!!!

Whew!  It's been a long time (song reference) since I've had a chance to post anything or even read the blogs I follow.  Been super busy, which is a good thing, but now I'm pretty much house bound for the next 6-8 weeks.  Here's why.
I picked Davis up this morning after her surgery - this time her right rear leg.  The TPLO in dogs is roughly the equivalent of torn ACL surgery in people.  The cast can come off with in the next 5 days but she's got to stay penned up for 6-8 weeks.  *sigh*  She's such a total rock star about the whole thing though so that helps.

Lots of other news to share so I'll get right to it.

The first Copic Inspirations class at Scrapbook Barn was awesome!!  I'm so very excited about this class series and hope to really see it grow.  Each month, on the 2nd Saturday from 1-3, I'll be featuring Copic markers and highlighting all the things that can be done with them.  I'll have the class samples for the March class in the store no later than Feb 25 if you'd like to see them in person and they'll be added to the Class Projects tab here on the blog as soon as they're done.  

I've added a die cut class to my teaching calendar.  The 3rd Thursday of the month at Creative Quest with a class available in the afternoon and another in the evening so no matter what your schedule is you'll be able to join me!  This class will highlight Spellbinders dies and the HUGE variety of techniques you can do with them.  Projects will be in the store as soon as possible and also posted on the Class Projects page.  

I just got to go look at Old Town Get Away in old town Peoria this morning.  Talk about a totally adorable place!!  Vicki has lots of ideas for this little gem and I can't wait to see some of them start happening.  I'll be adding this spot to my teaching schedule as well.  :)

Planning will be getting underway for the 2011 Stamp, Paper, Scissors Event.  Link is for the Facebook page.  If you haven't "liked" it yet be sure to do so to get all the latest updates on the event!  Will be working on a website as well.  This was a ton of fun last year and I'm planning even bigger and better things this year.

I'm also working on bring some big name guest instructors to area stores.  Donna Salazar will be at Paper Vineyard for 2 classes on Feb 27.  She'll be doing a free make & take at Scrapbook Barn on the 26th.   Jennie Black will be back for 5 amazing classes in Tucson the same weekend.  And you'll be able to find her in the Valley mid April for a certification class as well as in stores - that schedule isn't finalized yet, I'll let you know when it is.  :)  Donna Downey will be in the Valley the end of August - I'll get that schedule posted once it's been finalized as well.  And there are a few others that I'm in talks with to come out here. 

I'm looking forward to creating and posting my first Fav Things challenge layout at the end of the month.  I know what I'm going to scrap about but haven't figured out yet how to approach the creation process.  I'm letting it percolate just a little bit longer.  If you haven't checked out Fav Things, I highly recommend it.  I've always been amazed by the creations that the design team has shared.   And am so happy to now be a part of the group.  

And I'm hoping to be able to participate in a few of the Make It Monday challenges over at Papertrey Ink.  I loved the first one but just wasn't able to play along. 

For now,  I'm going to go find something for lunch and get caught up on my blog reading and commenting.  Have a fabu day!


Wednesday, January 26, 2011

Papertrey Playhouse Challenge #8 Love

I'm so happy to have been able to participate in the latest Papertrey Playhouse Group Blog Challenge.  It got busy and I wasn't able to create for the last couple of challenges, but never fear!  the ideas I had for those challenges are still with me (for now) and I plan on utilizing them and will post them here once they're finished.  A good idea is still a good idea even if it's late right??

But on to the current challenge.  Amy challenged us to create a Valentine's card (perfect for me since I've been in overdrive on these lately) but we weren't supposed to use the traditional pink and red on them.  HHHmmmmm.  That ups the ante a little doesn't it??!

In my recent create frenzy I came up with this.  I really love so many things about it.  My color scheme is green & red.  Had to include the red as it was one of 3 colors on the label that inspired the whole thing.  Hope Amy will forgive me.  :)

I try to practice the 3 R's - reduce, reuse, recycle - as much as I can.  This is such a cool example of reusing & recycling.  I'd peeled this label off a green pepper sauce bottle at a local bar ages ago.  Peeling labels is a bad habit of mine.  But this one came off so neatly and I just knew I could use it somehow, at some time so it got tucked away in my odds and ends in the office.

To be pulled out as the PERFECT accent for this challenge.  :)  I even had Mel take me there Monday night for dinner so I could peel some more off.

Supplies: Card base & env - The Paper Company; dies - Spellbinders - banners (yep, this is a new one & an instant favorite!), Accucut - heart 7; font - CK Journaling; cardstock - core'dinations; patterned paper - PTI Distressed Dots in Ripe Avacoado; Copic YG95 & airbrushing system; Label - McIlhenny

Tuesday, January 25, 2011

PTI Jan Blog Hop


Papertrey Ink's January Blog Hop is all about showing a little attention to stamp sets or products that haven't been used much lately or ever in some cases. 

I've been on a card making/crafting binge lately so this was a good challenge for me.  I've used a ton of PTI stamps in my creations but there were a few sets that had been languishing.  Here are my creations using those sets.  :)


The Just the Ticket stamp set & die were one of the first few sets I bought from PTI.  I just loved the idea of the tickets and the possibilities for embellishing them.  I haven't even scratched the surface of the ideas I had when I saw it, let alone the ideas I got from the PTI DT.  And with new sets showing up regularly this one got pushed to the back a little bit.  I'm happy to have moved it front & center with this card.  Simple but sweet and super easy to mass produce if needed!

 I was so tickled by these!  I'd cut down some 5x7 card bases for a class a few months ago.  Since I'm a little bit of a pack rat I kept them.  And they turned into these cute little things!

And the others are 3x3 cards I created with inspiration from the latest Scrapbooks Etc magazine.  Love the idea of little cards that are fast and easy to make and really easy to hide in a pocket, wallet, lunch or numerous other places.

Click any photo to view it larger.


Supplies:
Ticket to Love
Cardstock - Core'dinationsThe Paper Company; Patterned Paper - Melissa Francis, Making Memories; Ink - The Paper Company; Stamps - PTI Just the Ticket; Die Cuts - PTI Just the Ticket, Accucut heart 7; Twine - The Twinery

Mini Cards
Cradstock - Core'diantions, The Paper Company; Patterned Paper - Basic Grey, The Paper Company; Ink - Tsukineko, The Paper Company; Stamps - PTI - BB: Sheet Music, Paper Tray, TT: Valentines, FF: 5, BB: Polka Dots Basics, Vintage Labels, FF: 11, Love Lives Here, Impression Obsession - CAC Notebook; Dies - PTI - notebook, MS:1, Love Lives Here, QK - CC:Hearts, XO, sm heart, heart with arrow; Spellbinders - Label 1; Accucut - small heart 7, Twine - natural - Creative Impressions, red/white - The Twinery; button - unknown; Glimmer Spray - Tattered Angels; corner rounder - Fiskars